

[Admin] Understanding JANDI features in five minutes
Check out tips to manage your team on JANDI!
For JANDI Admin (Admin, Owner)
1. Invite members for collaboration
Send invitations to members that you wish to collaborate with in JANDI!
✅ Email invitations

2️⃣ Invite members according to their membership status.
Member: Members can access the public Topic and its contents.
Associate: Associates are ‘guest members’ who can join up to five topics at most. (example: interns, partners)
3️⃣ Enter the email address of the member you wish to invite.
4️⃣ Enter the email address and click ‘Send Invitation.’

2️⃣ Select the status and invite members accordingly.
✅Invitation Link
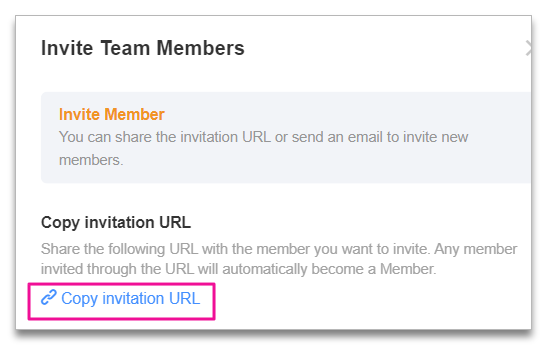
If you want to invite many members simultaneously, copy the invitation link and share it via messenger or email.
The team admin, team owner, and topic admin can set the Topic where new members automatically join.
2. Org Chart management for collaboration
Create an organization chart to manage member information for your team! (Available in paid plans only) (Org Chart settings are available in PC/Web JANDI)

2️⃣ Go to [Organization Management] – [Org Chart Management] – [+add sub groups] to create sub groups.
3️⃣ Go to [Organization Management] – [Edit Selection] to add or edit member position or rank
4️⃣ To manage member profiles, go to [Organization Management] – [Member Management]. (Dismiss from team /
Block members Permissions are editable)
[Admin Menu] is only available to the team admin. You can change a member’s status to the team admin.
3. Use the Admin Menu to oversee your team’s usage
Check out the admin features to see team usage, security settings, and payment information to improve your team’s efficiency!

2️⃣Set up features provided in your plan.

The admin menu consists of the following seven tabs, and we will guide you based on the Enterprise plan.
▪️Dashboard: View team usage and the number of Members/Associates
▪️Organization Management: Manage the position/rank of members and edit membership status
▪️Manage Team: Team invitation settings, edit team name/domain, delete team
▪️Download History: View the download history of your team
▪️Add-On Settings: Bookmark, read receipt, message delete settings
▪️Security Settings: Authorized IP access, watermark, download restriction
▪️Payment Information: Edit plan information, payment method, and company information
💡The three questions that all admins ask!

Thank you for your time in reading this guide. Now it is time to increase work efficiency!
For more information on JANDI features, please check out the FAQ🌱